Why Your Quest for Lighting Won't End in FL Studio Forums
If you've been diligently scouring the latest release notes for FL Studio 2025, FL Studio 24.1.1, or FL Studio 2024.2.2 hoping to unearth game-changing tips for your streaming setup, you might be in for a surprise. While these updates are undoubtedly crucial for music producers, offering new plugins, performance enhancements, and workflow improvements, they simply do not contain any information about
studio lighting for Twitch streamers. It's an understandable misconception – both fields involve "production" and "studio" elements, but the tools and knowledge sets are fundamentally different.
FL Studio is a digital audio workstation (DAW), a sophisticated software environment where musicians compose, arrange, record, edit, mix, and master audio. Its forums and release notes are dedicated to discussing waveforms, MIDI controllers, synthesizers, and audio effects – not lumen outputs or color temperature for video. Therefore, if you're looking to elevate your on-screen presence, you'll need to turn your attention away from audio software and towards dedicated visual production resources. To understand this clear distinction further, you might find it insightful to read
Twitch Streamer Lighting: Why FL Studio Forums Aren't the Source and
No Studio Lighting Tips Found in FL Studio Forum Releases. These articles elaborate on why the disconnect exists and guide you towards the right information.
The Core Pillars of Effective Streamer Lighting
Now that we've clarified where *not* to look, let's dive into the essential world of
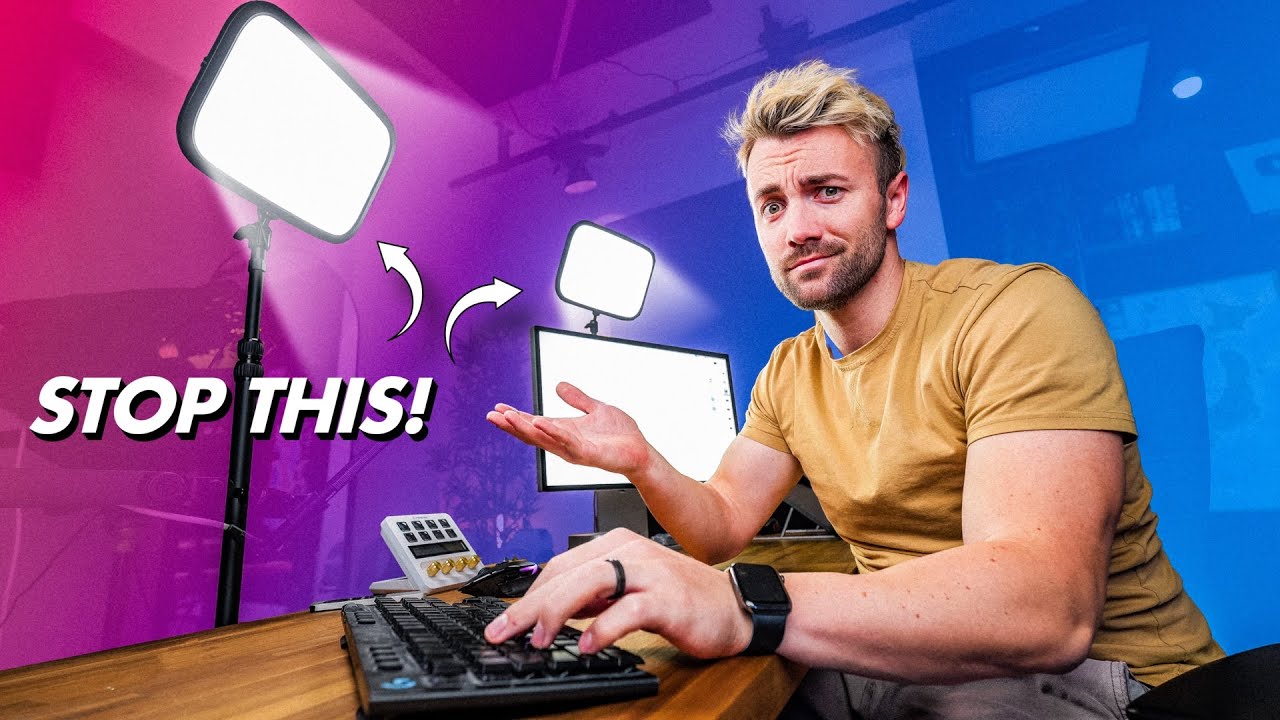
studio lighting for Twitch streamers. Good lighting isn't just about making sure viewers can see you; it's about professionalism, mood setting, viewer engagement, and even brand identity. Poor lighting can make your stream look amateurish, distract your audience, and even strain their eyes. Conversely, a well-lit setup enhances your visual appeal, makes you stand out, and keeps viewers captivated.
The foundation of professional-looking video lighting often lies in a technique known as "three-point lighting." This system uses three distinct light sources to illuminate your subject (you) effectively:
- Key Light: This is your primary light source, typically the brightest. It's positioned slightly to one side of your camera, often at a 30-45 degree angle, and slightly above eye level. Its purpose is to illuminate the main features of your face, shaping it and creating a primary shadow that defines contour.
- Fill Light: Positioned on the opposite side of your camera from the key light, the fill light is softer and less intense. Its role is to "fill in" the shadows created by the key light, softening them without eliminating them entirely. This reduces harsh contrasts and creates a more balanced, flattering look.
- Back Light (or Hair Light/Rim Light): Placed behind and slightly above you, facing towards your head and shoulders, the back light helps separate you from your background. It creates a subtle "halo" or "rim" of light, adding depth and dimension to your image and preventing you from blending into the backdrop.
Understanding and implementing even a simplified version of this system can drastically improve your stream's visual quality, making your content more appealing and your presence more commanding.
Essential Lighting Gear for Twitch Streamers
When building your ideal
studio lighting for Twitch streamers setup, a variety of equipment options are available, catering to different budgets and aesthetic goals. Here's a breakdown of common choices:
Key and Fill Light Options:
- Ring Lights: Extremely popular for streamers and content creators, ring lights provide a soft, even, and flattering light directly in front of your face (often with the camera lens positioned in the center). They're excellent for eliminating shadows and providing a bright, uniform look. However, they can sometimes create reflections in glasses and a somewhat "flat" appearance if not complemented by other lights.
- Softboxes: These are lighting fixtures enclosed in a fabric box, designed to diffuse and soften the light. Softboxes produce a very natural, diffused light, ideal for a professional and cinematic look. They come in various sizes; larger softboxes create softer light but take up more space. They are often a top choice for dedicated streaming studios.
- LED Panels (e.g., Elgato Key Lights): Compact, powerful, and often highly controllable, LED panels offer adjustable brightness and color temperature. Brands like Elgato specialize in streamer-focused lighting that integrates with stream deck setups, allowing for easy adjustments on the fly. They offer excellent versatility and are a favorite for smaller spaces due to their slim profile.
Back Light and Accent Lighting:
- RGB LED Strips: Affordable and highly versatile, RGB LED strips can be placed behind your monitor, along shelves, or hidden behind furniture to cast colorful ambient light onto your background. This adds depth, mood, and personality to your stream, allowing for branding through color schemes.
- Smart Bulbs/Lamps: Wi-Fi enabled smart bulbs can be placed in existing lamps or dedicated fixtures to provide controllable accent lighting. They often offer a wide spectrum of colors and dimming capabilities, easily integrated into a smart home or streaming setup.
- Small Spotlights: For specific background elements or to create dramatic highlights, small LED spotlights can be very effective.
Beyond the lights themselves, consider essential accessories like sturdy light stands, clamps, and diffusers (if your lights don't come with them) to help shape and direct your illumination.
Mastering Your Lighting Setup: Tips and Tricks
Having the right gear is only half the battle; knowing how to use it is crucial for achieving optimal
studio lighting for Twitch streamers.
Placement is Paramount:
- Key Light: As mentioned, aim for 30-45 degrees off-center from your camera, slightly above eye level. This creates natural-looking shadows that define your face without being too harsh.
- Fill Light: Position it on the opposite side of the key light, reducing its intensity compared to the key light. Experiment with distance and dimming to find the sweet spot that softens shadows without washing out your face.
- Back Light: Place it directly behind you, or slightly to one side, aiming it at the back of your head and shoulders. Ensure it's out of frame and doesn't spill too much light onto your background unless that's your intention.
Understand Color Temperature:
Most modern LED lights offer adjustable color temperature, measured in Kelvin (K).
- Warm Light (2700K-3200K): Appears more orange or yellow, creating a cozy, inviting atmosphere.
- Cool Light (5000K-6500K): Appears more blue or white, mimicking daylight and offering a crisp, clean look.
Experiment with different temperatures to match your brand, mood, or even the ambient light in your room. Consistency across your lights is key, unless you're intentionally creating color contrast.
Brightness and Dimming:
Avoid the temptation to crank all your lights to maximum brightness. Overexposure can wash you out and make your stream look harsh. Use dimmers to fine-tune the intensity, ensuring you are well-lit without looking blown out. Adjusting brightness also helps manage heat in your streaming space.
Dealing with Glasses:
Reflections in glasses are a common headache. To minimize glare:
- Raise your key light higher: This changes the angle of incidence, often causing reflections to fall below your line of sight.
- Angle your lights: Slightly adjust the horizontal angle of your lights away from direct reflection points.
- Use diffusers: Softer light sources are less prone to creating pinpoint reflections.
- Anti-glare coatings: If you wear glasses regularly, consider lenses with an anti-glare coating.
Background Lighting and Depth:
Don't neglect your background! Adding subtle lighting to your backdrop (e.g., using RGB LED strips or smart lamps) can create a sense of depth and professionalism. This separates you further from the background, making your entire setup feel more polished and intentional.
Budgeting for Brilliance: From Beginner to Pro
Achieving excellent
studio lighting for Twitch streamers doesn't necessarily require breaking the bank. You can scale your setup as your budget and needs grow.
- Beginner (Under $100-$150): Start with a single, good quality ring light or a basic softbox kit. These provide a significant upgrade over natural light or desk lamps. Focus on getting a light with adjustable brightness and color temperature. Utilizing natural window light effectively as a fill light can also save costs initially.
- Intermediate ($150-$400): Upgrade to a two-point setup, perhaps a dedicated LED panel (like an Elgato Key Light) for your key light and a smaller softbox or a second, less intense LED panel for your fill. Begin experimenting with basic background lighting, such as affordable RGB LED strips.
- Advanced ($400+): For a professional-tier setup, invest in a full three-point lighting system using high-quality LED panels or larger softboxes, all with excellent color rendering index (CRI) for accurate color reproduction. Integrate multiple accent lights, DMX controllers for synchronized lighting effects, and perhaps even advanced light modifiers.
Remember, consistency and thoughtful placement often trump sheer wattage. Even with a modest budget, a well-arranged lighting setup can look far better than an expensive haphazard one. Don't be afraid to experiment with household lamps and DIY diffusers (like parchment paper or white sheets) initially to understand lighting principles before investing heavily.
Conclusion
In the journey to elevate your Twitch stream, robust
studio lighting for Twitch streamers stands as a non-negotiable component. While the latest FL Studio updates are phenomenal for music production, they are, understandably, irrelevant to your visual presentation. Instead, focus your energy on understanding lighting principles like the three-point system, exploring purpose-built gear such as ring lights, softboxes, and LED panels, and mastering placement and color temperature. By implementing these practical tips and continuously experimenting with your setup, you'll transform your stream from merely visible to truly captivating, ensuring your audience sees you in the best possible light.