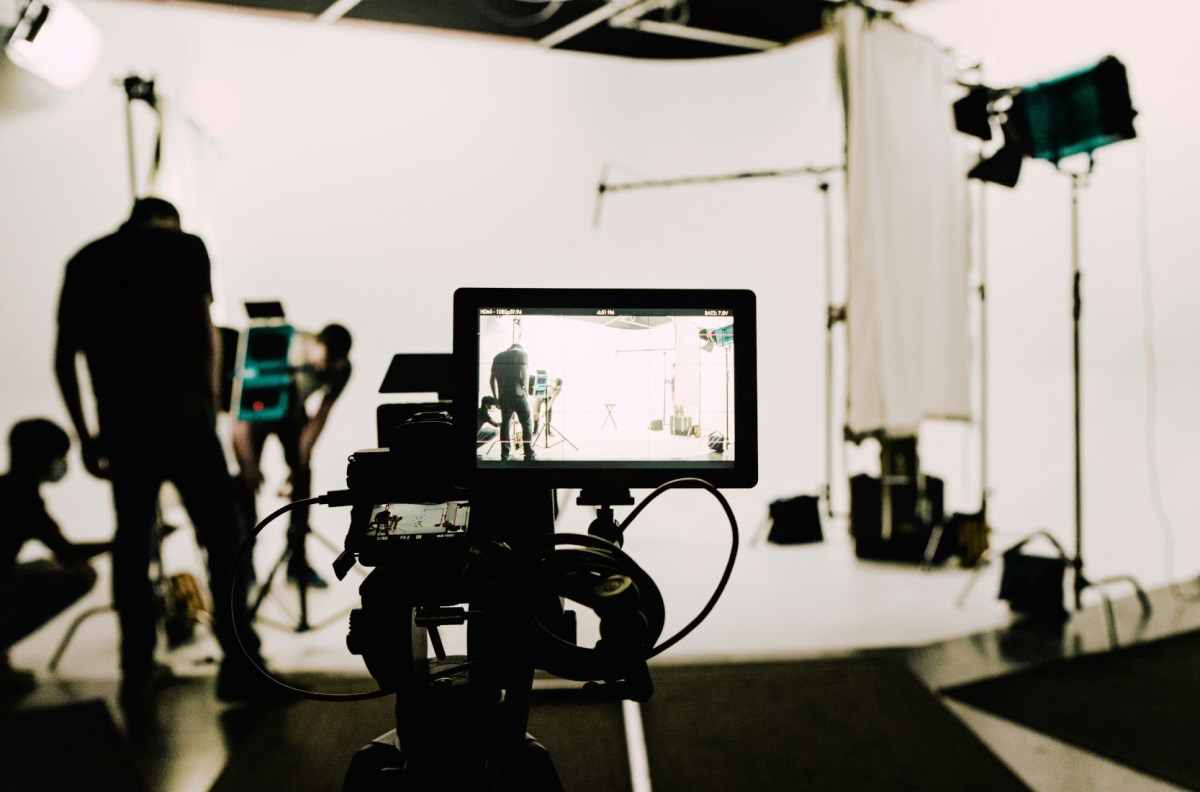
The Curious Case of FL Studio and Streamer Lighting: A Misconception Unpacked
When aspiring Twitch streamers embark on the journey of perfecting their on-screen presence, many begin with the technical essentials: a good microphone, a reliable camera, and, crucially, proper illumination. Searches for "studio lighting for Twitch streamers" often lead down diverse paths. However, an interesting misconception occasionally surfaces, leading some to wonder if communities centered around software like FL Studio might offer insights into lighting setups. Let's clarify this common misstep: the forums and update logs for FL Studio, a popular Digital Audio Workstation (DAW), are definitively not the place to find advice on visual presentation, and here's why. FL Studio, developed by Image-Line, is an incredibly powerful and versatile software environment primarily used for music production, audio editing, mixing, and mastering. Its vibrant community forums are treasure troves of information for beatmakers, producers, and sound engineers, discussing everything from VST plugins and MIDI controllers to workflow optimization and sound design techniques. The latest release notes, such as those for FL Studio 2025 or 24.1.1, detail software updates, bug fixes, new features, and performance enhancements relevant to *audio* creation. They delve into topics like new synthesizers, improved mixer functionalities, or automation clip enhancements. They do not, and logically would not, contain any content related to camera angles, background backdrops, or the nuances of good streamer lighting. If you're searching for Twitch lighting? FL Studio updates offer no help, and for good reason—it’s outside their domain. The confusion likely stems from the term "studio." In the context of FL Studio, "studio" refers to an audio production environment. For Twitch streamers, "studio" refers to their live-streaming setup, which encompasses visual aesthetics as much as, if not more than, audio quality for many content creators. Understanding this fundamental difference is the first step toward finding the right resources for your streaming goals.Understanding Your Streamer "Studio": Beyond the Audio
A successful Twitch stream isn't just about compelling gameplay or engaging commentary; it's about the entire viewer experience. Your "studio" as a streamer is a visual space, a performance stage that requires thoughtful construction. This includes your background, your camera quality, and critically, your lighting. Viewers are drawn to high-quality visuals, and poor lighting can instantly detract from even the most charismatic personality or thrilling game. Think of your streaming space as a miniature television studio. Every element, from your webcam's placement to the props on your shelf, contributes to the overall impression. Without adequate and well-placed lighting, you risk looking:- Grainy and Unprofessional: Cameras struggle in low light, producing noisy images.
- Dull and Lifeless: Flat, uninteresting lighting can make you blend into your background.
- Shadowy and Distracting: Harsh shadows can obscure your face or create an uninviting atmosphere.
- Inconsistent: Fluctuating or uneven lighting breaks immersion.
The Pillars of Perfect Studio Lighting for Twitch Streamers
Achieving professional-grade illumination doesn't require a Hollywood budget, but it does demand an understanding of fundamental lighting principles. For Twitch streamers, the cornerstone of any great setup is often a variation of the classic three-point lighting system, adapted for a desktop environment.1. Key Light: Your Primary Illuminator
This is your main light source, typically positioned slightly to one side of your camera (about 30-45 degrees off-axis) and slightly above eye level. Its purpose is to brightly illuminate the primary side of your face and subject. For streamers, common key light choices include:
- Ring Lights: Popular for their even, flattering illumination that minimizes shadows, often creating a characteristic ring reflection in the eyes. They're great for a single-source setup, but can be flat.
- Softboxes: These large diffusers create a broad, soft, and natural-looking light that wraps around your subject. They are excellent for professional, high-quality illumination.
- LED Panels: Versatile and often color-adjustable, LED panels can be diffused to provide soft light. Many come with barn doors for directing the light.
2. Fill Light: Softening the Shadows
Positioned on the opposite side of your camera from the key light, the fill light's role is to reduce the harsh shadows created by the key light. It should be less intense than the key light to maintain some depth and contrast. Often, streamers use:
- A less powerful LED panel.
- A reflector bouncing light from the key light.
- A second, smaller softbox.
3. Backlight (Hair Light/Rim Light): Adding Depth and Separation
Placed behind you and aimed at the back of your head and shoulders, the backlight serves a crucial function: it creates a subtle rim of light around your outline, separating you from your background. This adds depth and dimension to your image, preventing you from looking flat against your backdrop.
- Small LED panels or even simple desk lamps with diffusers can work effectively as backlights.
- Experiment with color! A subtle colored backlight can enhance your stream's aesthetic or match your branding.
Essential Lighting Gear and Advanced Tips for Twitch Success
Beyond the three-point system, several other factors and pieces of equipment can elevate your studio lighting for Twitch streamers to the next level.Color Temperature
Measured in Kelvins (K), color temperature refers to the "warmth" or "coolness" of light. Most affordable streaming lights offer adjustable color temperatures, ranging from warm orange tones (around 2700K) to cool blue tones (around 6500K). Aim for a neutral white light (around 5000-5600K) for a natural look, or experiment to match your aesthetic.
- Consistency is Key: Ensure all your lights are set to the same color temperature to avoid odd color casts on your face or background.
- Ambient Light: Be mindful of natural light from windows or existing room lights. They can interfere with your controlled setup. Use blackout curtains if possible for consistent results.
Light Modifiers and Accessories
- Diffusers: Essential for softening light. Many lights come with them, but external diffusers (like softbox attachments) are invaluable.
- Gels: Colored filters that can be placed over lights to change their hue. Great for adding atmospheric effects or brand colors to your background or backlight.
- Stands: Sturdy light stands are necessary to position your lights precisely and safely.
- Clamps and Mounts: For attaching smaller lights to desks or shelves, saving space.
Lighting for Green Screens and Virtual Backgrounds
If you use a green screen for virtual backgrounds, your lighting needs become even more critical. The green screen itself must be evenly lit to ensure a clean chroma key. Any shadows or hot spots on the green screen will result in patchy, unprofessional virtual backgrounds. This often requires two additional lights dedicated solely to illuminating the green screen, in addition to your subject lighting.
- Position green screen lights evenly on either side, pointing directly at the screen.
- Ensure no shadows from your body fall onto the green screen.
- Use a separate backlight to create separation between you and the green screen.
Budget-Friendly Options
You don't need to break the bank to get decent lighting. Many streamers start with:
- Desk Lamps with Smart Bulbs: Affordable, and smart bulbs offer adjustable brightness and color temperature.
- DIY Diffusers: White t-shirts or parchment paper can soften harsh lights in a pinch.
- Clip-on LED Lights: Small, portable, and surprisingly effective for fill or backlighting.